Showing posts with label sewing. Show all posts

Saturday, August 20, 2011

Choo Choo Bib

Small and tiny cross stitch designs can make a big impression on useful items, such as a baby bib.  

Cross Stitch a small design

I used a mini-cross stitch kit pattern and revamped it into the design and colors that I wanted.   A Christmas train pattern was changed into a lovely train with an American Flag.


Sew fabric around the cross stitch design

Materials:
Cross Stitch design
Coordinating print to make a strip around the design
Cut 1 print for top of baby bib
Cut 1 terry cloth for the backing of the bib
Bias tape


Take the coordinating fabric and sew around the cross stitch design.  It will need to be as wide as the baby bib.  Place a piece of interfacing behind the cross stitch design, and a piece of thicker padded interfacing.  This makes the design more stable and secure, plus giving a slight added dimension.

Attach the fabric strip with the cross stitch design, to the top of the baby bib, with a zigzag pattern. 


Sew coordinating baby print


Attach the terry cloth backing to the top of the bib.  With the bias tape, zigzag the front and back together.

Choo Choo Bib is finished

This makes a wonderful keepsake for a baby shower, or for a newborn baby gift in the hospital. 

Happy birth day, little one!


Saturday, August 13, 2011

Hooded Baby Towel

Make a hooded baby towel stand out by using a cross stitch design.


Cross stitch design on strip of aida cloth

I modified a duck design and lettering that I found in a book of cross stitch designs.  I designed the waves and the little fishes.  The bright colors stand out against the clean white cloth.

Hooded Baby Towel and Wash Cloth

Use a coordinating gingham fabric to sew around the cross stitch design.  Make it as large as the hood width.  Place a piece of interfacing behind the cross stitch design, and a piece of thicker padded interfacing.  Zigzag around the top to the terry cloth. 

Coordinating gingham fabric enhances the design

A narrow strip of gingham fabric on top of the wash cloth adds a splash of color to the white terry cloth.


With a matching wash cloth
 Zigzag around the towel.  Fold edges under and zigzag 1/4" from the edge.  I used light blue thread for the edging. 

Zigzag around edging


Materials:
Aida cloth and embroidery thread
Coordinating gingham fabric
White terry cloth

Sizes:
Wash cloth -  9" wide by 12" long
Hooded towel -  32" wide by 36" long


Hooded Baby Towel and Wash Cloth


What a fun project to make for a new little baby! 


Friday, August 5, 2011

Monkey Blanket

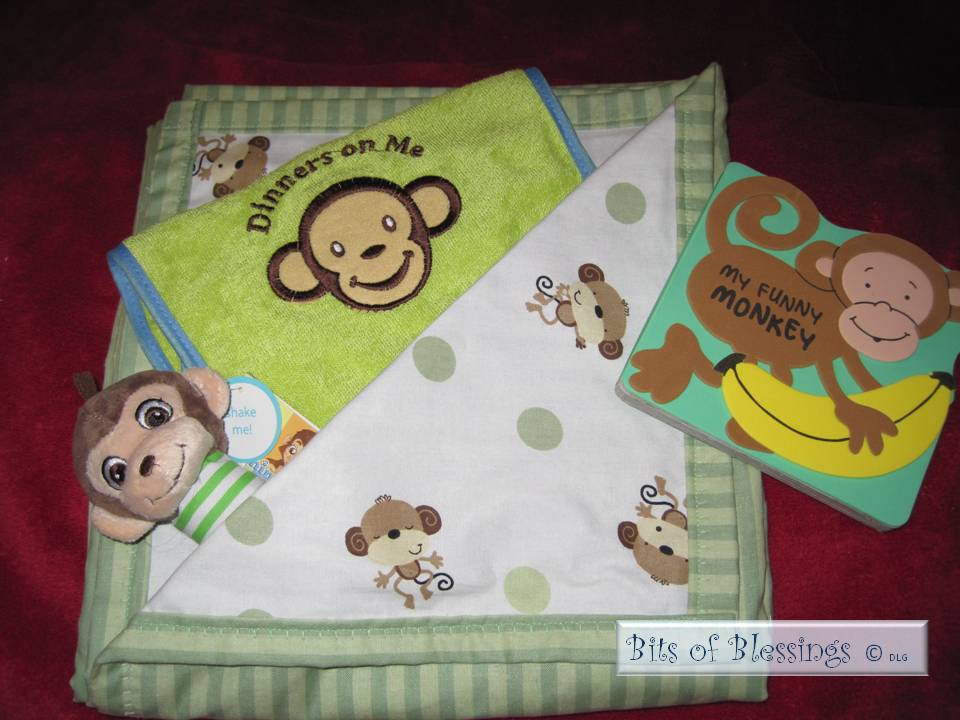
Making this blanket is super easy and looks great.  It is a nice size for the playpen, or a blanket on the floor for baby to play on.  There is no lining between the fabrics, but it is amazingly warm to wrap up a baby in.


Coordinating cotton prints

Materials:
1 yard cotton monkey print
1 yard cotton striped print

Place wrong sides together, and trim around edges where necessary.  Turn over an edge from the fabric on the back, the striped print.  Pin in place around edges.  Secure the edges of the fabric by zigzagging around the edges.

I
Add matching items for a wonderful gift!


Now that is an adorable gift idea! 


Wednesday, July 20, 2011

Reversible Baby Bibs

This makes a nice shower gift for baby.  It's simple to make.
 
Materials:
Soft flannel - coordinating prints
Fleece interfacing
Bias tape

Cutout a little patch from coordinating print to sew on top of the fleece bib.  I place a small piece of fleece interfacing underneath the patch.  Pin in place.  Zigzag around to applique' on top of the bib.

Flannel baby bibs

Cut out both flannel pieces and fleece interfacing. Place wrong sides of flannel together, and put the fleece interfacing on top.  Sew around the outer edge with 1/4" seam allowance.   Turn inside out. 

Attach bias tape to neck edge and pin in place.  Zigzag from the end of one tie, around the neck edging, and finish off at the end of the other tie.


Reversible bibs

So soft.  So fun to make!

Monday, September 27, 2010

Charity Project: "1 Million Pillowcase Challenge"

American Patchwork & Quilting is challenging you to join our efforts to Make a Pillowcase, Make a Difference. Every pillowcase can make a difference in your community. A pillowcase can provide comfort for a cancer patient, hope for a foster child, encouragement for a battered woman, or beauty for a nursing home resident.


To download free patterns & instructions: 


Charities to donate locally (suggestions):  Hospice, Veteran's hospitals, Senior nursing care facilities, VFW posts for active service personnel or veterans, Oncology units, Missions, Ronald McDonald House, Homeless shelters, Women's shelters, Youth shelters, etc.  

Make a pillowcase and donate to a local charity.   Once your pillowcases are complete and donated to an organization, log on to the All People Quilt website and enter how many pillowcases you made.  

Help us reach our goal of ONE MILLION Pillowcases.

Wednesday, September 15, 2010

Owl Hoot Pillow

Changing an out-dated wall hanging into a pretty pillow was a fun & simple project. Not to mention, inexpensive.

Here's what it looked like when I found it (previous post)
http://bitsofblessings.blogspot.com/2010/08/owl-hoot.html


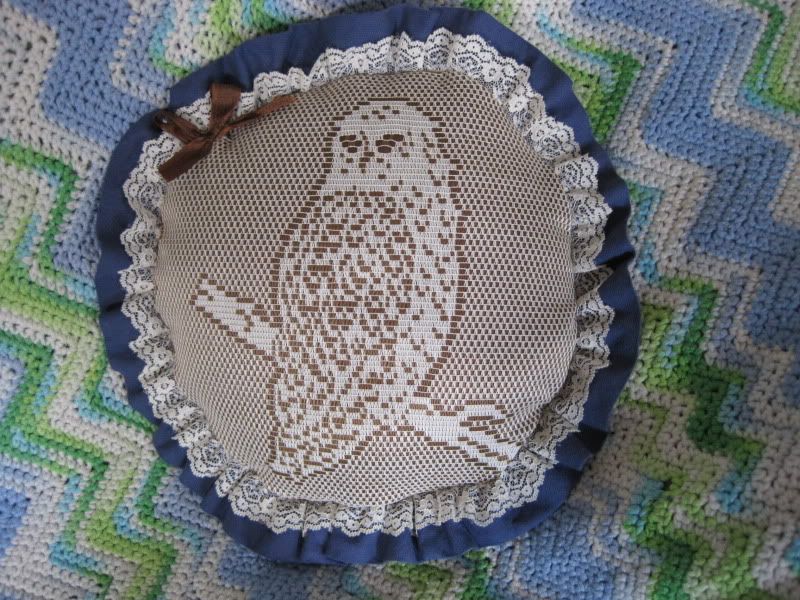
The owl lace was taken out of the hoop and cleaned thoroughly and old glue stains removed.  There was a solid brown fabric placed behind the owl lace and makes the owl stand out clearly.

An unused piece of denim trim with white lace overlay, was purchased at the same time at the thrift store for only 10 cents.  It fit nicely around the round lace piece and was sewn to the top of the owl lace and brown backing. 

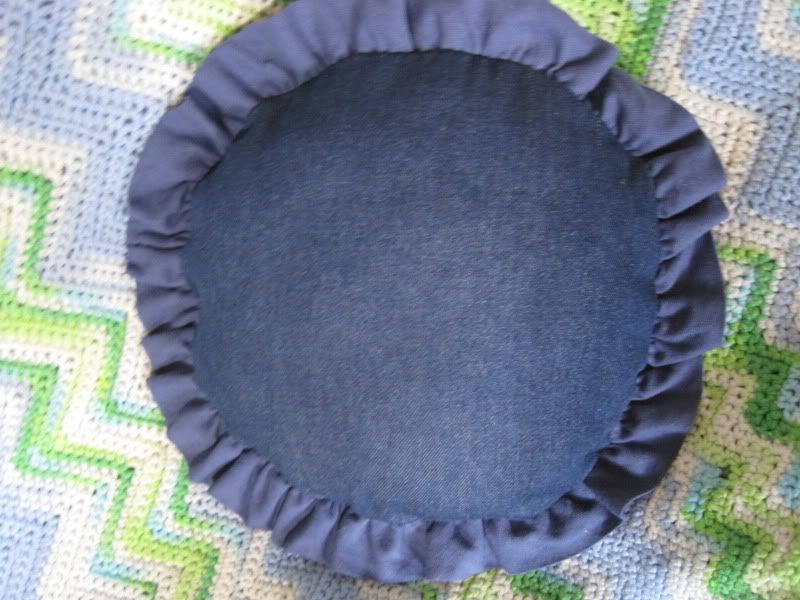
A small peice of denim was purchased at the fabric store at 50% off, and the shade of denim was closely matched to the shade of the denim trim.   The circle of denim was used for the back of the pillow.
Owl Hoot ~ pillow back


Add stuffing and sew together, add the brown lustre bow back on the side, and there you have a cute up-to-date pillow for 35 cents for the vintage fabrics, and a minimal cost for the denim fabric and stuffing. 

Whooooooooo wouldn't just love this adorable pillow?


Owl Hoot Pillow
Status:  Finished

Saturday, August 28, 2010

Owl Hoot

An Owl Hoot recycling project made from an Owl Hoop.

Remember the crafts from the 70's & 80's that made works of art in those wooden embroidery hoops?  All sorts of pictures were made by placing embroidery, fabric pictures, or other types of crafts that were embellished in the circular frame.  This may have been when the hot glue gun frenzy began.


Thrift Store find @ 25 cents

While hunting in the thrift store, I couldn't resist this lace owl for 25 cents. The lace fabric & background has been taken apart from the wooden frame and washed.  The glue and woodstain have discolored the ivory trim, so it's unusable.  It will be remade into a new item soon.